
Ready the hot chocolate and warm up those caroling voices, it’s tree lighting season. Now is the time we come together with friends and family—at night in the frigid cold—to admire a local evergreen conifer covered in lights. It is a strange but genuinely beautiful tradition that’s very fun to photograph. This year, we wrote up a list of best practices for how to photograph holiday lights at night; if you’re going to face the crisp winter air, you should make it worth your while.
Timing & Location
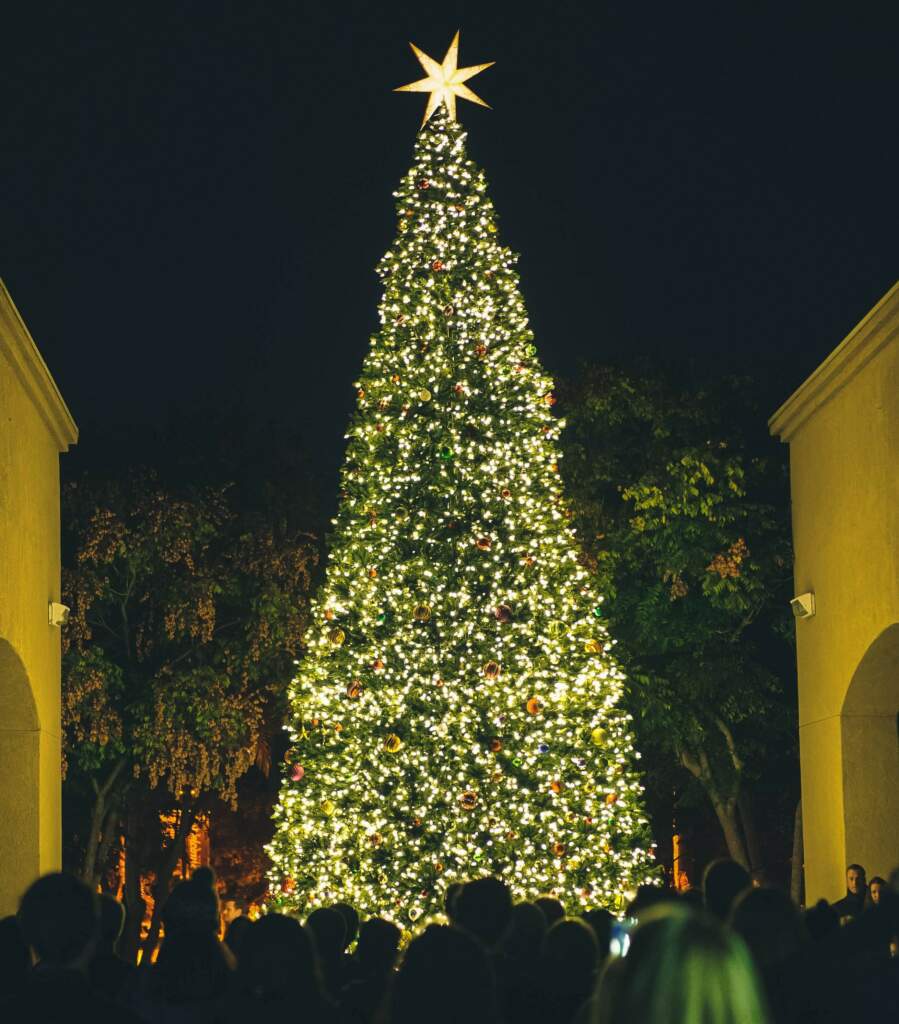
You’re probably not the only person interested in photographing this tree lighting. Get to the event space early, find the angle from which you want to shoot, and claim your turf. This also gives you an opportunity to experiment with ISO levels and take photos in a wide array of lighting from golden and blue hour to total darkness.
Tripod & Remote
You need a slow shutter speed to capture this shot (more on that in a moment). Because of the longer exposure, you should bring your trusty tripod to avoid shaky, blurry photos. We recommend the MeFOTO RoadTrip Travel Tripod which folds down to a mere 15 inches. You can also hook your camera up to a remote control for hands-free shooting if you want to be really cautious.
Step Away From The Flash
Capturing the warm, festive ambiance of a holiday tree lighting is harder when you add your own blinding flash; the tree is already expertly lit, why mess with perfection? Adding a flash also washes out the tree’s lights, the lush color of the evergreen and inevitably turns the people standing front of you into blurry shapes resembling the ghost of Christmas past.
ISO Settings
Finding the right ISO setting is a big part of determining how to best photograph holiday lights at night. This number will vary greatly depending on the amount of ambient light where you’re shooting. We suggest taking a few test shots to find your sweet spot, but a good rule of thumb is to start at the lowest ISO possible and adjust from there.
Artful Blurring

Bokeh is a classic staple of holiday photography and for good reason. It’s a very effective way to capture the comforting, often whimsical vibe of holiday events. You can create this effect with any lens. However, there are a few steps you can take to create Hallmark-worthy imagery.
First, you’re going to need a lens with a very wide aperture like an f/1.4 or f/1.8. We would highly recommend any of these lens options from Sigma, Sony, Rokinon, and FujiFilm. Second, adjust your aperture. The bigger the aperture, the narrower the depth of field; if you want big, beautiful bokeh make the depth of field as narrow as possible. For best results set it to f/2.8, 1.8, or 1.4. Finally, (a callback to tip #1) make sure you’re relatively close to the tree.
Elevate Your Photography
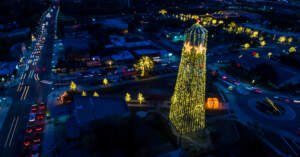
It’s safe to say that there are thousands of tree lighting photos out there. Some are certainly better than others, but they’re all reasonably similar: an exquisitely lit tree in a city square, often featuring bokah. If you want your photos to stand out, try shooting from above.
The DJI Mavic 2 Pro is the latest and greatest in drone technology; it features a 10-bit HDR video, an adjustable aperture, and 20 mp 1” CMOS sensor. In laymen’s terms, it records incredible content from any angle.
That concludes our top tips on how to photograph holiday lights at night! If you have any additions, feel free to leave them in the comments below.
-
 Regular price: $175.00
 -
 Regular price: $1,399.00
 -
 Regular price: $1,398.00
 -
 Regular price: $339.00
 -
 Regular price: $1,499.00


